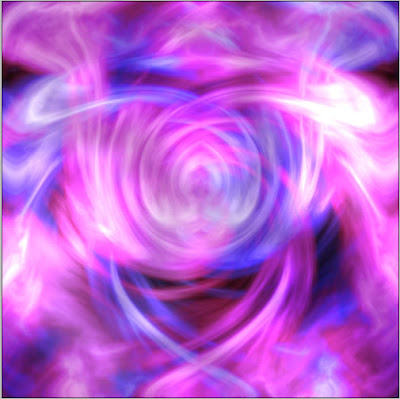
Photoshop Abstract Wallpaper
Step 1:
Create a new document. Now press "D" on your keyboard to reset the foreground and background colors to black and white.
Make sure your background is Black.
Step 2:
Go to Filter> Render> Clouds and then go to Filter> Render> Difference Clouds, repeat the difference clouds one more time.
Step 3:
Go to Filter> Distort> Wave and use the default setting.
Step 4:
Okay, now use Twirl. Go to Filter> Distort> Twirl and set the Angle 236.
Step 5:
Duplicate the layer.
Select the duplicated layer and go to Edit> Transform> Flip Horizontal.
Set the duplicated layer blending mode to 'Lighten'.

Step 6:
Create a new layer and set the new layer background color is black.
Now use Clouds, go to Filter> Render> Difference Clouds. Then go to Filter> Blur> Radial Blur, use the default setting shown below:
Set the blending mode to 'Soft Light'.
Step 7:
Create a new layer with black background.
Go to Filter> Render> Difference Clouds, repeat the difference clouds once. Then go to Filter> Blur> Radial Blur, use the default setting and now set the layer blending mode to 'Color Dodge'.

Step 8:
Now I have 4 layers in my layer palette Background, Background copy, Layer 1 and Layer 2.
So select these layer one by one and go to Image> Adjustments> Hue/Saturation and set the colors you want.

4 Comments:
At June 29, 2009 at 11:57 PM , Anonymous said...
It is very easy to do, and the result is beautiful.
At August 18, 2009 at 12:34 PM , Anonymous said...
Thanks for this gret tutorial!
At October 15, 2009 at 6:23 PM , Anonymous said...
Awesome guide.
At October 29, 2009 at 1:01 PM , Anonymous said...
awsome exactly what i was looking for
Post a Comment
Subscribe to Post Comments [Atom]
<< Home