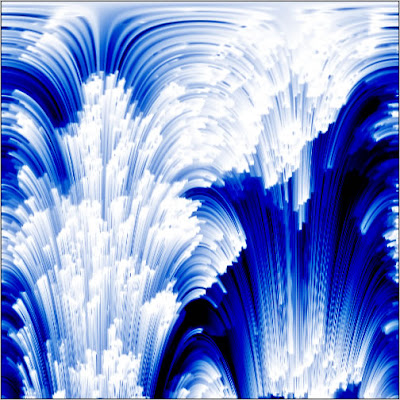
Photoshop Lighting
Today's we are going to create a fantastic lighting background texture.
Step 1:
Create a new document.
Now press "D" on your keyboard to reset the foreground and background colors to black and white.
Step 2:
Go to Filter> Render> Clouds. Then Filter> Render> Difference Clouds.
Apply Difference Clouds 3 times more. Your image should look something like this image below.
Step 3:
Go Filter> Artistic> Rough Pastels and use the following setting:
Step 4:
Now go Filter> Brush Strokes> Accented Edges and use the following setting:
Step 5:
Apply Filter> Distort> Polar Coordinates and set Rectangular to Polar.
Step 6:
We are going to apply wind, go to Filter> Stylize> Wind and Wind Direction: From the Right.
Apply Wind 3 more times with same setting.
After apply wind 3 more times:
Step 7:
Go to Filter> Distort> Polar to Coordinates and set Polar to Rectangular.
After:
Step 8:
Now add some colors, go to Image> Adjustments> Hue/Saturation and use the following setting:
Step 9:
Duplicate the background layer and set the duplicated layer blending mode to 'Color Burn' for making some darkness.

0 Comments:
Post a Comment
Subscribe to Post Comments [Atom]
<< Home