Adding A Tan
We are going to slightly change the color of some ones skin to make it appear that they have a slight tan.
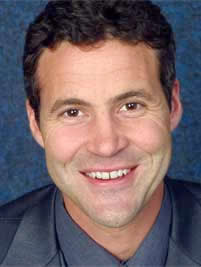
Find a suitable photograph.
Next, duplicate the photograph layer so you have two of them.
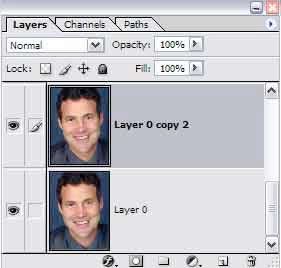
Change the Blend Mode of the top duplicate to Linear Burn. When it comes to skin, this Blend mode will do exactly what its name says - burn. You subject should look as if he's got a bad sunburn right now.

Next reduce the opacity of the Linear Burn layer to about 25%. The skin looks a little better now.
Now we need to only apply the linear burn blend mode to the skin - not the cloths and background. So, add a layer mask to the Linear Burn layer. Paint with black over the background, cloths, eyes and teeth. This can take some time depending on the complexity of your photograph..


Next, this step is optional. Your photograph may look ok as it is. However, I felt this one had a bit too much of a red tint. If this happens, Ctrl + Click on the layer mask to put a selection around all that is white. With that selection active, click the half black/half white circle at the bottom of the layers palette and add a Channel Mixer adjustment layer. Your layers palette should now look like this.
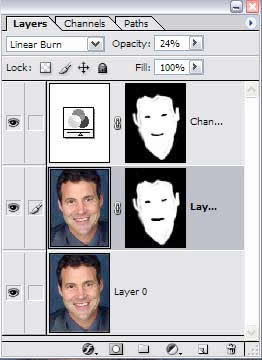
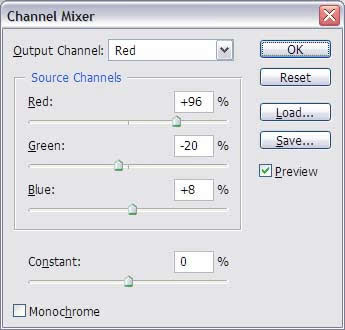
Bring the red slider down slightly as I have in this reference image. Also, it may help to bring the Green down slightly as well. You'll have to experiment a little with it as each photograph is different.
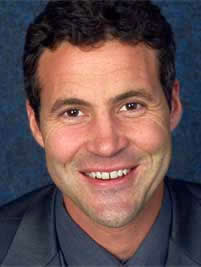
That's it. The person in your photograph should now a bit more color to their skin. You can see the difference when they are side by side.

Find a suitable photograph.

Next, duplicate the photograph layer so you have two of them.

Change the Blend Mode of the top duplicate to Linear Burn. When it comes to skin, this Blend mode will do exactly what its name says - burn. You subject should look as if he's got a bad sunburn right now.

Next reduce the opacity of the Linear Burn layer to about 25%. The skin looks a little better now.

Now we need to only apply the linear burn blend mode to the skin - not the cloths and background. So, add a layer mask to the Linear Burn layer. Paint with black over the background, cloths, eyes and teeth. This can take some time depending on the complexity of your photograph..


Next, this step is optional. Your photograph may look ok as it is. However, I felt this one had a bit too much of a red tint. If this happens, Ctrl + Click on the layer mask to put a selection around all that is white. With that selection active, click the half black/half white circle at the bottom of the layers palette and add a Channel Mixer adjustment layer. Your layers palette should now look like this.

Bring the red slider down slightly as I have in this reference image. Also, it may help to bring the Green down slightly as well. You'll have to experiment a little with it as each photograph is different.

That's it. The person in your photograph should now a bit more color to their skin. You can see the difference when they are side by side.

posted by Blog @ 12:27 AM
![]()
0 Comments:
Post a Comment
Subscribe to Post Comments [Atom]
<< Home