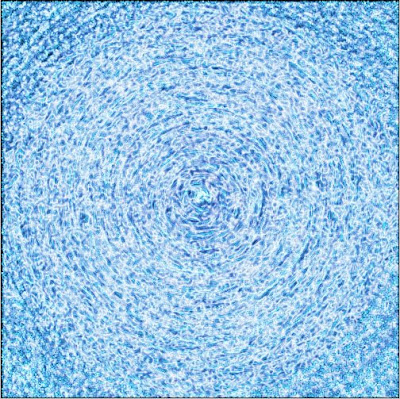
Photoshop Vortex
Step 1:
Create a new document.
Now press "D" on your keyboard to reset the foreground and background colors to black and white. Make sure your background is black.
Step 2:
Apply Filter> Distort> Diffuse Glow and apply the following setting:
Step 3:
Apply Filter> Blur> Radial Blur and use these settings:
Step 4:
Now go to Filter> Stylize> Glowing Edges and use these following settings:
Now your vortex shown:
Step 5:
Go to Filter> Distort> ZigZag and apply the following setting:
Step 6:
Right click the Background Layer and Duplicate it. Set the duplicate layer blending mode to 'Screen'.
Select the duplicated layer and go to Filter> Artistic> Plastic Wrap and use these settings:
Step 7:
So let's add some colors. Select the Background copy layer and go to Image> Adjustments> Hue/Saturation and use the following setting:
Select the background layer and go to Image> Adjustments> Hue/Saturation and apply the following setting:

0 Comments:
Post a Comment
Subscribe to Post Comments [Atom]
<< Home