Funny Photo Effect
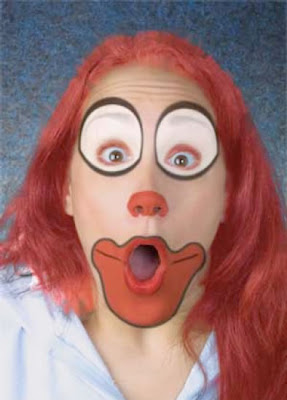
For this tutorial, we are going to take a photo of a woman's face and add some makeup to it.
Step 1: First you will need a photo like below (photospin.com).
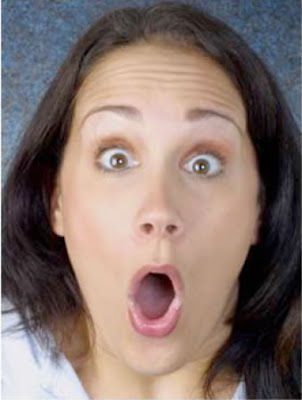
Step 2: Lets start with the mouth. Create a new layer above the photo layer named INNER MOUTH. Draw a shape around the mouth similar to what I have here. The pen tool usually works best for something like this.
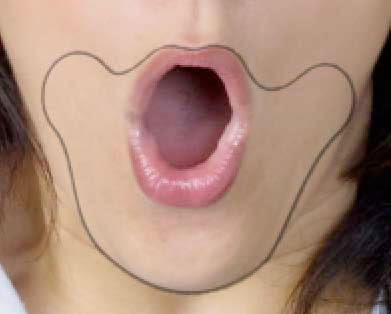
Step 3: Set your foreground color to R:228 G:46 B:29. Switch over to the Paths palette and click the Fill Path with Foreground Color button at the bottom of the palette. Alternatively you could have set your foreground color in step 3 and used the brush to create this shape but Pen Tool is much more accurate and time saving.
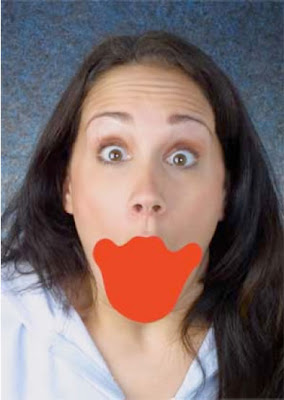
Step 4: You will notice that the mouth is covered as well. We don't want this. You can fix this with one of two ways. If you feel comfortable with the Pen Tool, hide the INNER MOUTH layer and create a new Path in the form of the mouth. Go over to the Paths palette again and click the Load Path as Selection button at the bottom of the palette. Unhide the INNER MOUTH layer and delete the selection from it. Or, you can just use the Eraser Tool - if you have got a Pen tablet this option may work just fine. Either way, you should have something similar to this.
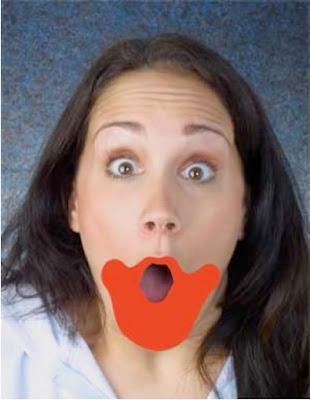
Step 5: Now, change the Blend Mode of the INNER MOUTH layer to Multiply. Then change the Opacity to 55%. Duplicate the INNER MOUTH layer and reduce the top duplicate opacity to 23%. This will help deepen the color effect.
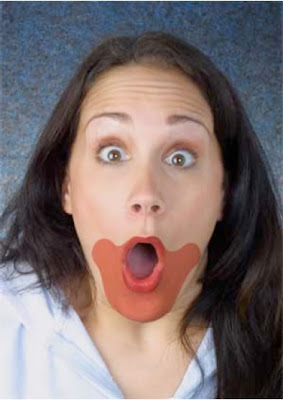
Step 6: Create a new layer below INNER MOUTH named MOUTH OUTLINE and make it the active layer. Ctrl + Click on the INNER MOUTH layer to put a selection around the mouth. Choose Edit => Stroke. Enter a Width setting of around 7 pixels and check the Outer setting. Also, change the color to Black and click OK.
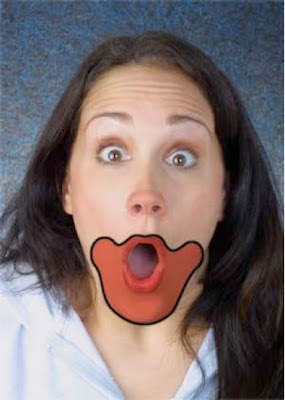
Step 7: Run the Gaussian Blur filter on the MOUTH OUTLINE layer with a setting of around 1-2 pixels to make the outline slightly blurred so it does not look so perfect. Then drop the opacity of this layer down to about 60-70%. Also added two small lines to each side of the mouth to give it an added effect.

Step 8: In step 8, lets create the nose. Create a new layer above INNER MOUTH named NOSE. Using the Brush Tool, set R:228 G:46 B:29 as your foreground color and paint with a soft edged brush around the bottom of the nose area. The size of your brush depends on the size of your photograph but you'll find it easier to select a large brush for the middle area and reduce the size as you get closer to the outer edges. Remember the huge timesaving keyboard shortcut to change brush size on the fly - it's the left and right bracket keys ([ ]).
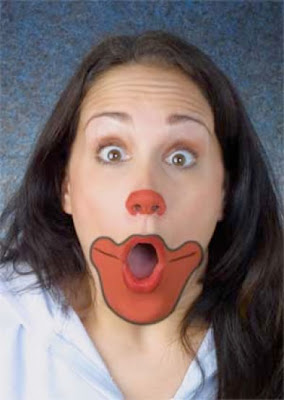
Step 9: Run the same Gaussian Blur filter on the nose once or twice too to soften the edges up.
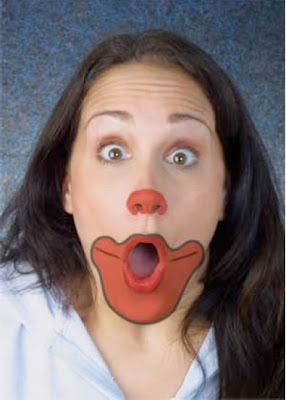
Step 10: Now for the eyes. Create a new layer above all of the others named RIGHT EYE. Using the Pen Tool once again, draw a shape around the eye similar to this one.
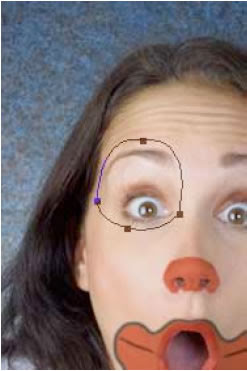
Step 11: Set your foreground color to White. Make sure your new RIGHT EYE layer is active and switch over to the Paths palette . Click the Fill Path with Foreground Color button at the bottom of the palette.
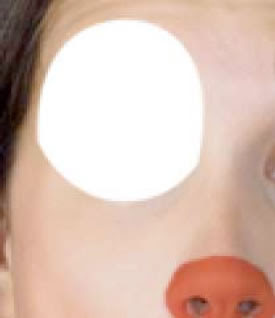
Step 12: Next, repeat Step 4 to erase the inner eye area from the total white shape.
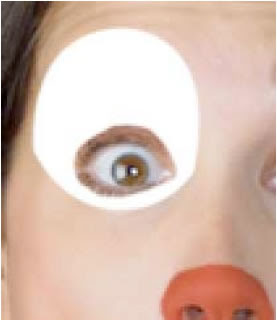
Step 13: Now duplicate the RIGHT EYE layer. Rename the duplicate to RIGHT EYE OUTLINE and move it below the RIGHT EYE layer.
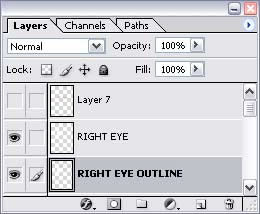
Step 14: With the RIGHT EYE OUTLINE layer active, click the Lock Transparent Pixels button at the top of the Layers Palette. This will lock all of the transparent pixels in the layer. Now fill the layer with Black (Alt + Backspace). You probably won't notice much of a change yet.
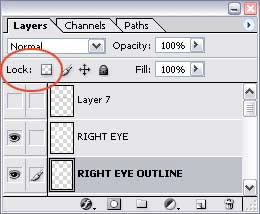
Step 15: With the EYE OUTLINE layer still active, hit Ctrl + T to bring up the Free Transform tool. Drag the handles on the bounding box out slightly. Dragged each one individually because I do not want to scale the entire shape the same way - I wanted the top and bottom to get slightly larger than the right and left sides.
Step 16: Now, make the EYE OUTLINE layer active. Ctrl + Click on the RIGHT EYE layer to put a selection around the white area. Now hit delete to remove the inner black area from the outline layer. We do this because next we need to set the opacity of the white RIGHT EYE layer to 50%. If we did not remove the black, we would see it through as we reduced the opacity of the layer above it. Set the opacity of the EYE OUTLINE layer to 65% and set the opacity of the white RIGHT EYE layer to 50%.
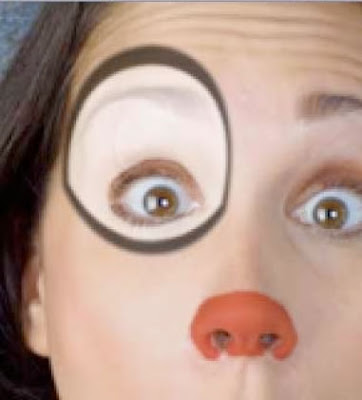
Step 17: To deepen the effect of the white over the eyes, duplicate the RIGHT EYE layer so you now have 2 of them. Make the opacity setting of the top copy of the layer 20%. It should not be a huge change but subtle enough to deepen the white makeup effect.
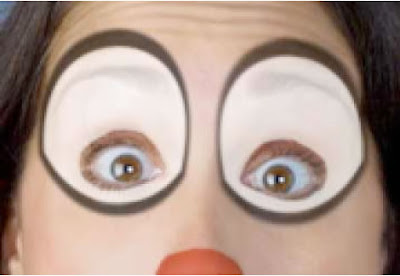
Step 18: Repeat steps 10 - 17 for the other eye.
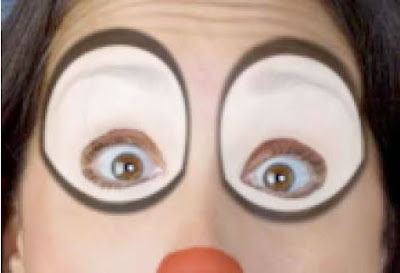
Step 19: That pretty much completes the clown makeup effect. One final addition could be to change the color of the hair. In this example, duplicated the photo layer. Then, used the Extract filter to select the hair (Filter => Extract). Then used the Hue/Saturation adjustment (Ctrl + U) to change the color of the hair to a red.
3 Comments:
At June 14, 2010 at 6:53 PM , Photoshop said...
aha,very funny, a nice practicaljoke :)
At June 18, 2010 at 10:29 AM , Anonymous said...
its 2nyc
At June 21, 2010 at 6:03 AM , photo editor said...
Much better and funnier effects found personally at www.pato.pl/en/
Post a Comment
Subscribe to Post Comments [Atom]
<< Home